Start with what students can actually see
Ask students to describe visible details before moving to interpretation. Then ask what in the image supports their idea.
If the important details are small, give the image more space rather than squeezing several complex pictures onto the board at once.
Controls and settings
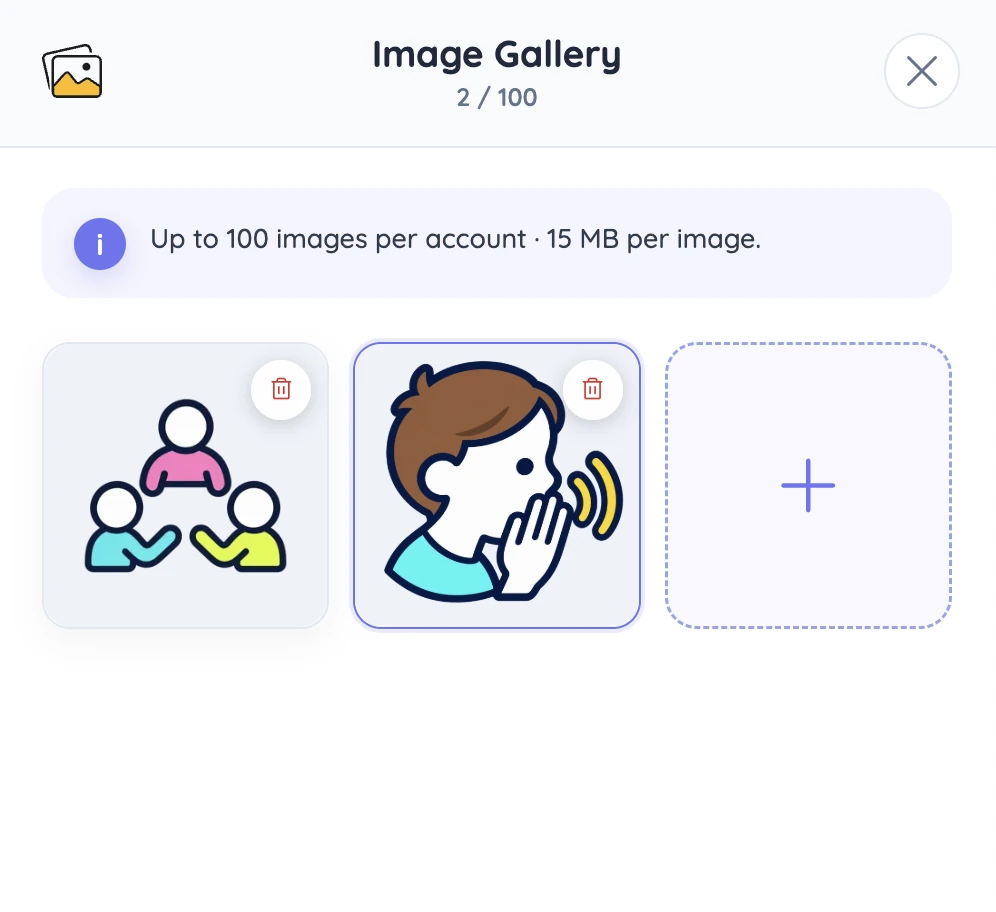
Photo opens the Image Gallery, where you can upload a new file or choose one already saved to your account. Each image can be up to 15 MB, and the gallery shows the allowance for your plan. A selected image opens in a movable, resizable window. Closing the board window does not delete the file from the gallery; use the library delete control only when you no longer want to keep it.
Set it up in Sabura
- Open Photo and upload or choose the image you want.
- Resize and position the window so the useful details are easy to see.
- Put a question or instruction beside it.
Read a historical photograph carefully
Show an old street scene and ask students to list only what they can see. Then move to a question about what they can infer about the place or period. Ask them to point back to details in the image when they explain their ideas.
Teaching tip
Check the image on the classroom display, not just on your laptop. A detail that looks clear close up may disappear from the back of the room.