Choose the board that fits the task
Use a plain background for free drawing, lines for writing, or a grid when spacing and measurement matter. Keep colours purposeful so the main idea remains easy to follow.
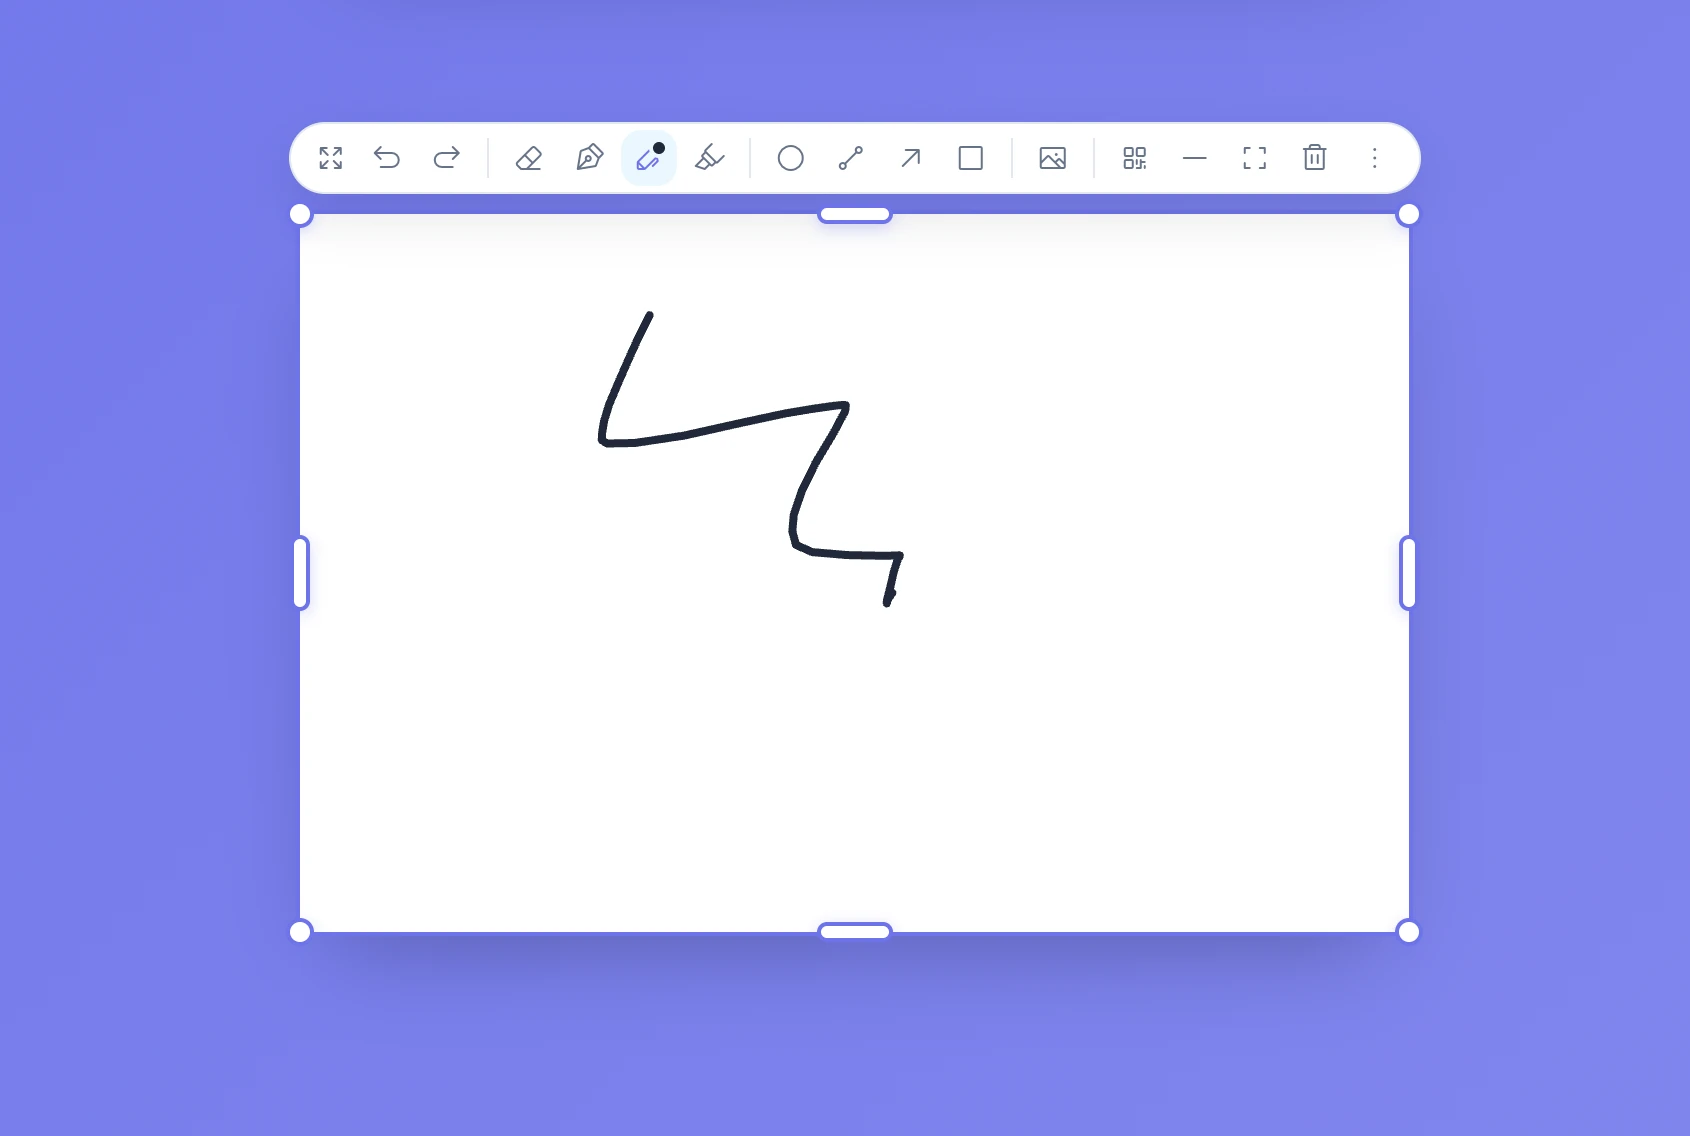
Draw includes pens, a highlighter, shapes, an eraser, undo, and redo. You can also add an image and annotate it directly.
Controls and settings
Choose a pen, highlighter, or eraser and adjust the colour and stroke size. Use circles, rectangles, lines, and arrows when you want clean shapes without drawing them by hand. Undo and redo make it easy to correct a step. You can expand the board when you need more room, and the QR sharing option gives students access to a copy of the finished drawing without letting them edit your board.
Set it up in Sabura
- Open Draw and choose a suitable background.
- Select a pen or shape and start your explanation.
- Add or correct details as you go, then expand or share the board if needed.
Build the area rule from a grid
Draw a rectangle on a grid and ask students to count the squares in one row and the number of rows. Then ask how they could find the total without counting every square. Add the multiplication only after the class has connected it to what they can see.
Teaching tip
Leave a little empty space for student suggestions. You can try an idea, then use Undo if you want to return to the main example.